Return to Home Page
Contact Us
Why Buy Baldwin?About UsOur Furniture
 

Step 
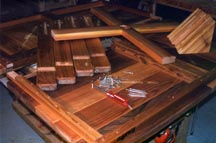
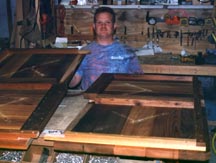
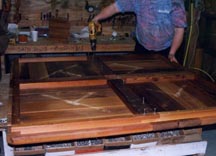
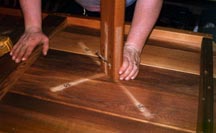
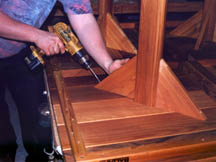
1: Unpack everything. Find the following: Two identical table top halves, four table legs, one cross bracing pre-assembly, twelve triangle gussets, eight 3” screws, forty 2 1/2” screws (extras included), a square screw bit, and a Baldwin hand 
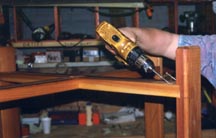
held screwdriver. We recommend putting the supplied square bit into a drill. This will make putting the screws in a lot easier.


Step 2: See the way the two halves of the table top fit together? The framework is a half lap joint and the two halves just slide together. It is a very secure fit.

Step 3: Lay the two table top halves out on a flat smooth workbench with their top sides down. Slide them together tight and use eight two and a half inch screws to fasten the two halves together.

Step 4: Attach the four legs using two 3 inch screws each. Try to line up the screws with the holes in the underside of the table. This will assure alignment and ease of screw tightening.
Step 5: Fit the pre-assembled cross bracing (the two 2x4s which are half lapped, glued, and drilled for an umbrella) into the dado cuts in the legs. Once this part is in place use eight 2 1/2 inch screws to fasten it.
Step 6: This is the last step. Each legs needs three triangle gussets. Place one on each side, and one toward the center of the table. The gussets are drilled through the tips. Use the 2 1/2 inch screws to fasten all the gussets in place. If a gap appears between the gusset and leg then back the screw out, hold the parts tight, and put the screw in again.
Click here to watch our video! Max Baldwin. Fine outdoor living since 1989. We are now building Pergolas!
Website Maintained by Creative Sunrise
Max Baldwin - fine outdoor living since 1989